Tuesday, July 31

Baked Sweet Potato Chips

You may be wondering why you haven’t seen any new posts on Red Lab 27.  With the summer being so busy, I decided to take it off and truly enjoy it.   After today, however, I plan to post more frequently, so please continue to visit and check for new recipes! 

To start back up, I thought I’d share an easy recipe with you.  Baked sweet potato chips.  I LOVE chips.  They’re crunchy, salty, and addictive.  Sure they’re not healthy, especially if you eat more than the recommended serving (and I almost always do).  With that said, I typically buy Baked Lay’s potato chips to stock our kitchen cabinet.  At least they’re somewhat healthier.  Baked Lay’s are good, but have you ever tried homemade potato chips?   If you haven’t, then you are missing out!

A mandoline will create thin slices that are consistent in size


Homemade chips taste better than any packaged ones you’ll find at the grocery store.  There are so many options for seasonings.  Experiment with different spices, or if you prefer a more traditional taste, stick to using salt.  The best part about these potato chips is that they’re warm when you eat them!  Think of chocolate chip cookies.  Aren’t they a million times better when served fresh out of the oven?  The same is true for chips.  Trust me, you won’t be able to get enough of these chips!


The slices will shrink in size when cooked

These can be made at home by simply using an old fashioned knife to slice all the potatoes.  However, to cut the potatoes very thin and have a consistent thickness (1/8 inch), I would recommend purchasing a mandoline.  A mandoline is a cooking utensil that quickly allows you to slice fruits or vegetables by running them over a sharp blade.   Not only does it slice extremely thin (much better than I could by hand), but it can also julienne.  They even come with a safety guard to protect your fingers.  I have never owned a mandoline until recently, and I must say that it makes cutting that much easier.  If you’re looking for an affordable mandoline, I suggest the Progressive International HGT-11 Folding Mandoline Slicerthat I recently purchased.


Baked Sweet Potato Chips
Adapted from Simple Comfort Food
Serves: 4 people
Prep Time: 10 mins.
Total Time: 30 mins.

Ingredients:
  • 2 medium sized sweet potatoes
  • 1 1/2 tablespoons olive oil
  • 1/2 teaspoon sea salt (or kosher salt)

Supreme Seasoning (optional):
  • 1/2 teaspoon sea salt (or kosher salt)
  • 1/4 teaspoon pepper
  • 1/4 teaspoon garlic powder
  • 1/4 teaspoon cayenne pepper
  • 1/4 teaspoon cumin powder
  • 1/4 teaspoon nutmeg
  • 1/2 teaspoon paprika

Directions:
  1. Preheat oven to 400˚F. 
  2. Wash potatoes and slice to 1/8 inch thick.  The skin can be left on or if preferred, peeled and removed.
  3. Place potato slices in a large bowl.  Add olive oil and toss, making sure to evenly coat all slices. 
  4. If making the supreme seasoning (optional), combine all the ingredients in a small bowl and mix well. 
  5. Arrange potato slices in a single layer on metal baking sheets.  Lightly sprinkle one side with sea salt or the supreme seasoning.  Bake for 10 minutes.
  6. Remove from the oven and turn the slices over to the other side.  Lightly sprinkle with the remaining sea salt or supreme seasoning. 
  7. Bake for 10-12 minutes, until the centers are soft (and slightly golden brown) and the edges are crisp.  Transfer to a bowl and serve while warm.

Tuesday, April 24

Frozen Blueberry Yogurt Bites

Now that my husband and I are eating healthier I’m always on the lookout for nutrious snack ideas.  Or, in other words, snack alternatives that won’t break the calorie bank.  I admit it, I love snacks.  Unfortunately I used to come home from work ravished, and eat snacks as I cooked dinner. I would eat potato chips and any other crunchy foods I could find in the kitchen.  Some people crave sweet, some crave salt, but when I want a snack I’m looking for foods that pack a CRUNCH.    

I think the majority of my problem stemmed from eating foods that didn’t satisfy my hunger.  I find it crazy that eating something as small as a hardboiled egg can curb hunger.  One hard boiled can contain as much as 6.5 grams of protein.  That’s what satisfies your hunger!  After experiencing this first hand, I now look for protein in my snacks.  I keep healthy snacks on hand (granola bars, nuts, etc) at work so I didn’t fall into the common vending machine trap. 

It just so happens that the below recipe will become one of my new snacks to have on hand.  When I stumbled across the recipe I thought what a great idea!  Greek yogurt is packed with protein (approximately10-15 grams per container) and blueberries have their own great health benefits.


This recipe was definitely worth a try.  I almost didn’t make it, however, as the original recipe calls for using a toothpick to hand dip each blueberry in the yogurt.  NO THANK YOU.  I knew that would take forever and my patience would run short.   Instead I figured out the perfect combination of blueberries and yogurt.  That way, all that’s needed is to stir the two ingredients together and spread them onto a baking pan.  No toothpicks needed!


These came out great.   The honey flavored Greek yogurt adds a nice subtle flavor and while the frozen berries provide a slight ‘crunch’ (perfect for me!).  These would make a great snack on a hot summer day!  I’ve found that storing the berries in a re-sealable bag, in the freezer, makes for an easy snack to grab while you’re on the run.  Just a grab a few and enjoy!


Frozen Blueberry Yogurt Bites
Serves: 1 cup
Prep Time:  5 mins.
Total Time:  65 mins. (includes 1 hour of freezing)

Ingredients:
  • 1 cup fresh blueberries
  • 1/4  cup honey flavored Greek yogurt (such as Dannon Oikos)

Directions:
  1. Place yogurt in a medium bowl and add blueberries.
  2. Gently use a spoon to stir and coat the blueberries with yogurt.
  3. Pour yogurt covered blueberries onto a baking sheet.  Separate the blueberries so that they do not touch.
  4. Place baking sheet in the freezer and allow to freeze for 1 hour.
  5. After frozen, remove blueberries from the baking sheet.  Add to a re-sealable bag and place in the freezer.

Saturday, April 7

Healthy Egg Salad Sandwiches

With the holiday right around the corner there’s no doubt that you or someone in your family will be dying Easter eggs.  When I was younger my dad and I would dye a few dozen.  The question is what do you do with that many eggs when Easter is over? 

Hard boiled eggs are great paired with breakfast or they can also serve as a nice protein snack (averaging 6 grams).  If you’re like me and would tire of eating an egg each day, then make egg salad sandwiches!  I used to love when my mom would pack this sandwich for me in my school lunch.  Now, looking back, I think there was probably a good amount of mayo that was added to make them so creamy.   That’s why I thought I’d re-create this nostalgic sandwich but make a healthier version.  Instead of using mayo, I replaced it with Greek yogurt.  Greek yogurt is very thick and has a rich, creamy consistency.  Not to mention it’s packed with a good amount of protein.  Keep in mind substituting Greek yogurt for mayo can easily be done with various dishes (ex: chicken salad sandwiches) and provide the same tasty result without the guilt.

Also, I have a huge time saving tip if you do not have left over Easter eggs.  Did you know that you can buy hard boiled eggs in the store?!  You can!  And the best part is they’re already peeled!!!!  They’re by Eggland’s Best and are kept near the fresh eggs.  I know you might be thinking that’s a rip off as hard boiled eggs are so easy to make.  But are they?  Think about how much time is spent boiling and peeling them.  I HATE peeling the shells.  Even if you think you’ve fully de-shelled them, there’s always (ALWAYS!) a tiny bit of shell that remains and manages to make its way into the mix.  AND with these eggs, they’re cooked perfectly.  The yolk is never under or over cooked.  It’s a perfect golden yellow.  I can honestly say I will never make hard boiled eggs again.  Buying them is just too easy.  They also come in a nice re-sealable bag that allows us to store them in refrigerator and quickly grab a snack when we’re on the go.

These egg salad sandwiches came out great.  The spices included were not overpowering and next time I’d like to experiment with adding a little more mustard or perhaps some dill as well.  This salad tastes amazing on toasted bread.  Instead of using regular sandwich bread I decided to try Pepperidge Farm Deli Flats.  They’re a very thin roll that’s perfect for sandwiches.  The best part is they’re only 100 calories!  They taste delicious and provide more support (no more falling apart!) for heavier sandwiches.   We enjoyed topping our sandwiches with fresh spinach, but if you don’t like spinach, try topping yours with lettuce or tomatoes.  Enjoy!


Healthy Egg Salad Sandwiches
Adapted from 101Cookbooks.com
Serves: 3
Prep Time:  10 mins.
Total Time:  15 mins.

Ingredients:
  • 2 tablespoons plain Greek yogurt
  • 1/4 teaspoon salt
  • 1/4 teaspoon pepper
  • 1/4 teaspoon lemon juice
  • 2 stalks celery, chopped
  • 1/2 bunch chives, chopped
  • 1 tablespoon Dijon mustard
  • 6 large hard boiled eggs
  • fresh baby spinach (optional) or lettuce if preferred
  • Pepperidge Farm Deli Flats or whole grain bread, toasted

Directions:
  1. In a large mixing bowl, combine first 7 ingredients; stir to combine well.
  2. Slice hard boiled eggs into quarters; add to large mixing bowl.
  3. Using a fork combine all ingredients.  Mash eggs to desired consistency.
  4. Assemble sandwich:  place spinach on top of toasted bread, add egg salad on top of spinach, and top with toasted bread.

Saturday, March 24

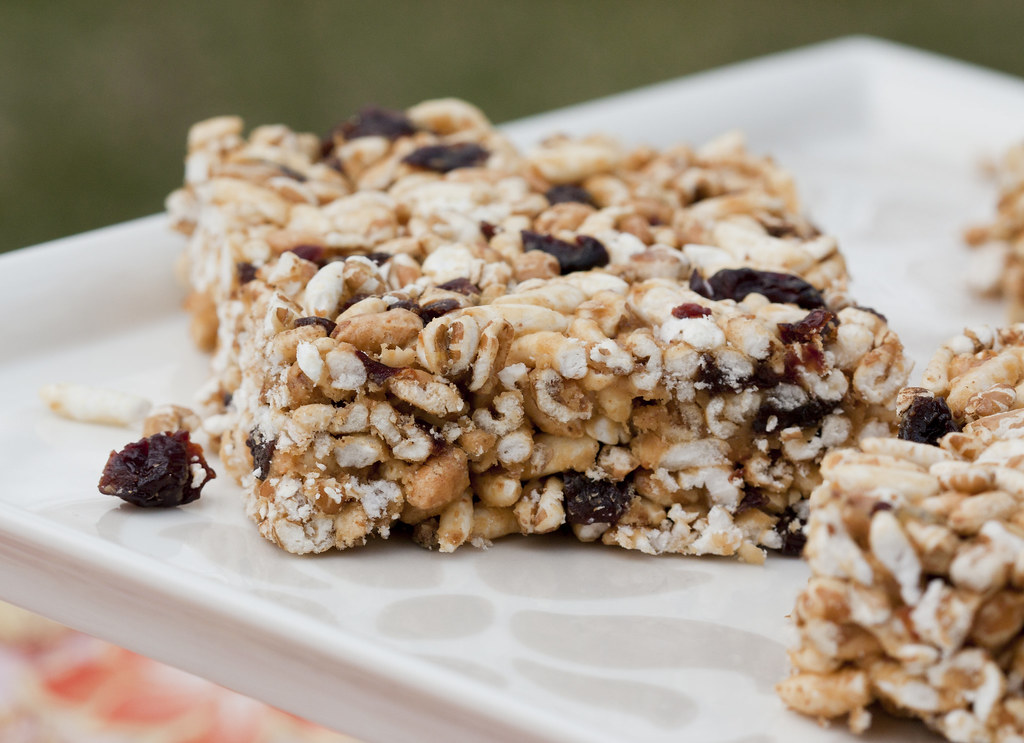
Natural Cherry Crispy Treats

A few months ago a good friend of mine made a new type of Rice Krispies Treat using more natural ingredients than Kellogg’s famed version.    I know exactly what you’re thinking…they can’t possibly taste as good.  WRONG!  When people think of healthy ingredients they often associate them with a bland taste.   Trust me, try this recipe will squash those myths and have you hooked.  I used to love Rice Krispies Treats and all their varieties (especially peanut butter flavored!), but now I can honestly say I will NEVER make them again.  These Natural Cherry Crispy Treats are so tasty that they put traditional Rice Krispies Treats to shame.

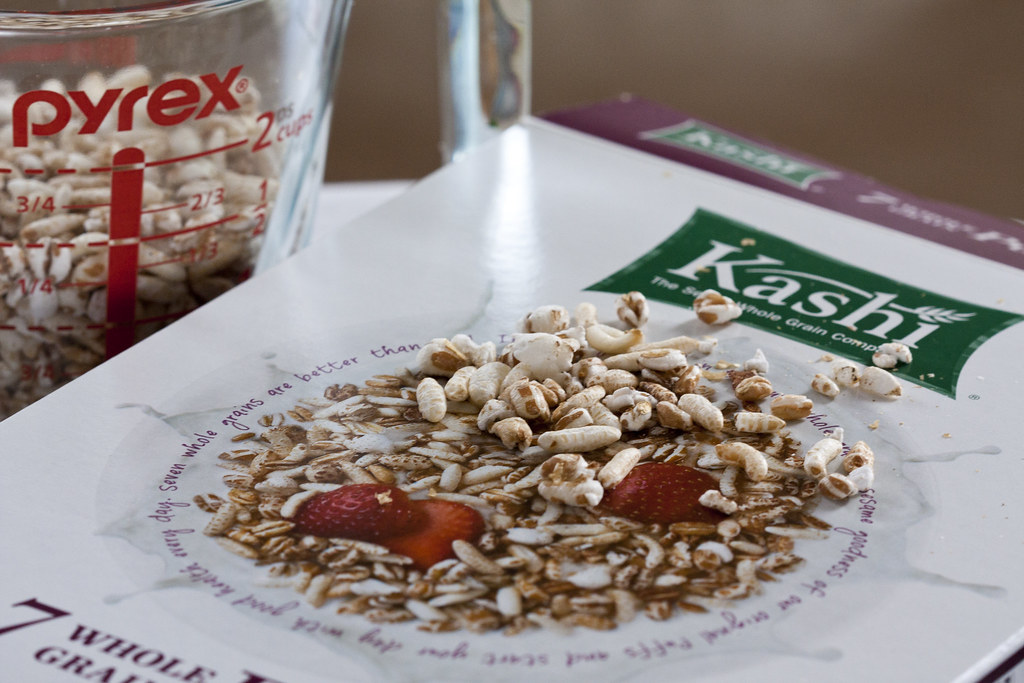
Butter and a whole bag of marshmallows are the key ingredients within Kellogg’s Rice Krispies Treats .  Natural Cherry Crispy Treats, on the other hand, are prepared with natural peanut butter, honey, and dried cherries.  They also use Kashi 7 Whole Grains cereal instead.  What’s great about Kashi 7 Whole Grains cereal is that it contains no added sugar and a whopping 18 grams of whole grains!  It also has a variety of puffs, flakes, and nuggets which give Natural Cherry Crispy Treats an irresistible texture.


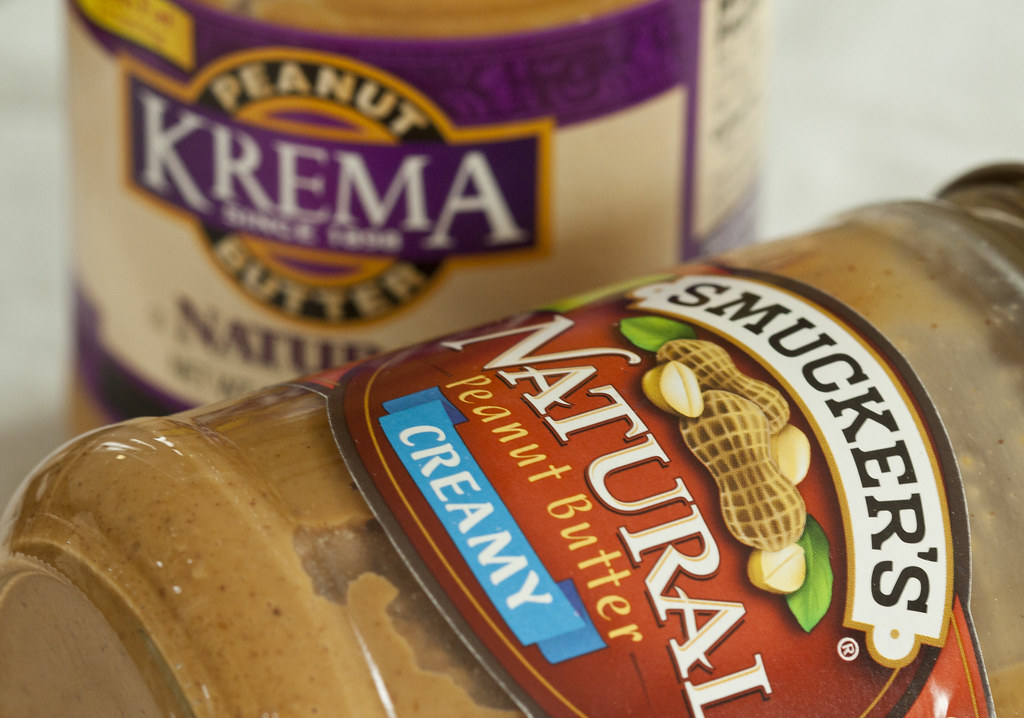
There’s one suggestion I’d like to make, before you begin, and that’s to buy natural peanut butter.  You may very well have a typical brand at home such as Jiff, but natural peanut butter is a million times better.  I tried natural peanut butter for the first time, shortly before discovering this recipe, and was utterly amazed by the taste.  I had ignored natural peanut butters at the store because the top portion of the jar was filled with liquid.  I thought it looked odd and unappetizing.  Since the oils naturally separate, all that’s needed after opening a jar of natural peanut butter is to stir the mixture with a knife until everything has been equally distributed.  There are a variety of brands to choose from, but my personal favorites are any of Trader Joe’s or Krema.  Even Smucker’s produces natural peanut butter.  See what selections your grocery store has to offer!


After the first time I made these bars, my husband and I were addicted.   Since we recently started eating healthy, these serve as a sweet snack (or dessert!) that doesn’t sabotage our calorie count for the day (163 calories per serving).   And the best part about making Natural Cherry Crispy Treats………no more messy marshmallow clean up!


Natural Cherry Crispy Treats
Serves 12 (1 serving = 2.5 x 3 in. square)
Prep Time: 10 minutes.
Total Time:  40 minutes (includes 30 minutes of cooling)

Ingredients:
  • 1/2 cup honey
  • 1/2 cup natural peanut butter
  • 6 cups Kashi 7 Whole Grains cereal
  • 2/3 cup dried cherries, chopped
  • non stick cooking spray
  • wax paper

Directions:
  1. Spray a 9x13 inch cake pan with non stick cooking spray.  Set aside.
  2. In a large mixing bowl add cereal and chopped cherries.  Set aside.
  3. In a small pot, over low-medium heat, combine honey and peanut butter.  Stir until completely melted (approximately 2-3 minutes).
  4. Add honey-peanut butter mixture to the large mixing bowl.  Using a large spoon, mix and stir the ingredients until cereal is fully coated; equally distribute the mixture.
  5. Pour mixture into the prepared pan and evenly spread across.  Place a large piece of wax paper on top, fully covering the pan.  Using hands or a smaller rectangular baking pan, firmly press the mixture into the pan.  This will flatten the mixture and as well as help keep its form.
  6. Place in the refrigerator for 30 minutes before cutting and serving.  Note:  In the summer  I keep these stored in the refrigerator as they’re nice and refreshing when served cold.


Related Posts Plugin for WordPress, Blogger...