It’s that time of year again when my husband and I travel all across Michigan to visit family for Christmas. With so many holiday gatherings I start to panic a few days beforehand about what to make. We’re never asked to bring a dish, but since I love to cook I want to make something. The question is what?
I have many tried and true recipes that we love but I hate bringing the same thing twice. I love the challenge of making something new and different. But what to make? What to make? That’s when I visit my favorite recipe sites (food.com or allrecipes.com) and begin searching the most popular dishes by category or entering keywords. This time I happened to use the word ‘mini’ and was lucky enough to stumble upon this fabulous recipe! The name says it all…MINI BOSTON CREAM PIES. I don’t know when I tasted my first Boston Cream Pie or where, but there’s one thing I know….I LOVED it!
Let’s face it, Boston Cream Pie is dangerous. Whether you favor the chocolate topping or the creamy middle, they’re over the top delicious and addicting. That’s why this recipe is so great. These are bite size mini pies. They’re small indeed but they pack a big punch of flavor.
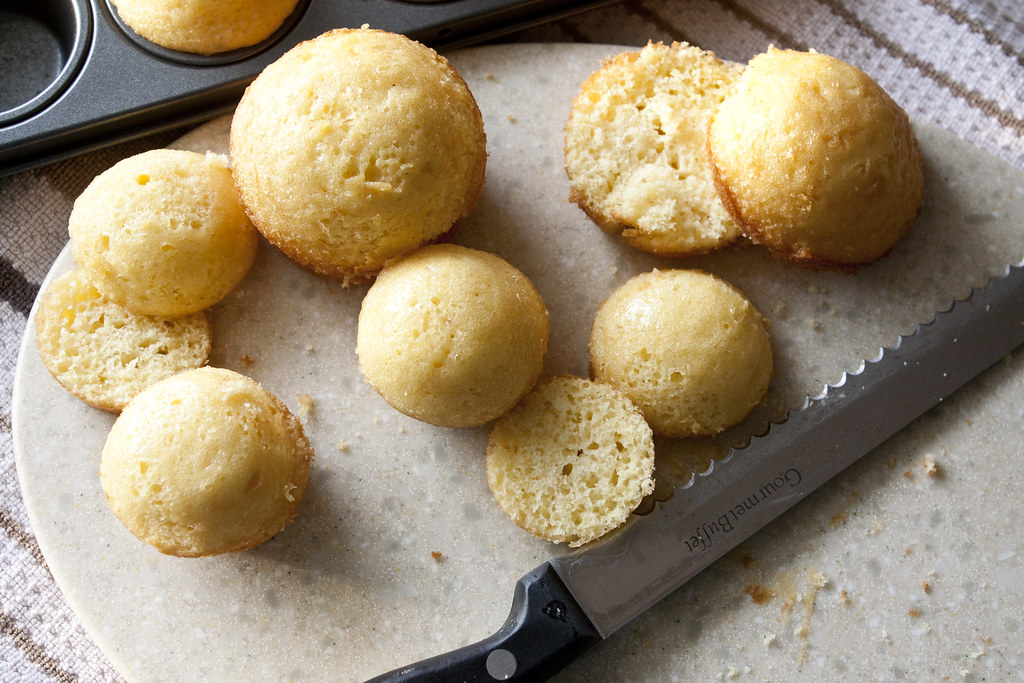
In all honesty I didn’t know if the original recipe meant ‘mini’ as in regular size cupcakes or mini cupcakes. I decided to bake both and see which I preferred. Both sizes work, however I prefer the mini cupcake size as they’re the perfect finger food. Who wants to hold a plate when you can just pick one of these little babies up? I also found it much easier to frost the mini cupcakes.
 |
 |
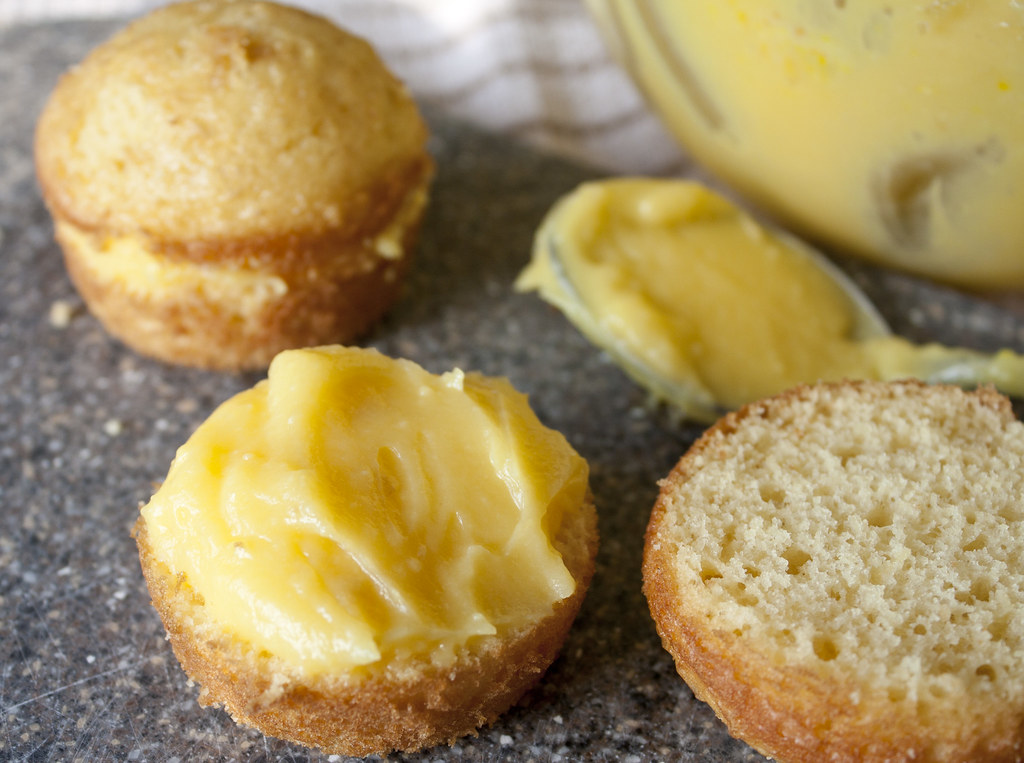
| Fill with Vanilla cream |
 |
| Top with frosting |
These mini pies are absolutely stunning once they’re assembled. The chocolate frosting is a dark color with such a rich flavor. I never would have thought to combine chocolate and Cool Whip to make frosting, but WOW it’s great. So smooth. These were a huge hit at the holiday party I brought them to. It was fun to watch people taste them and ‘sell’ them to other guests. Pretty soon word had spread like wildfire and within a very short period of time they were all gone. Mission accomplished! Try this dessert, you won’t be disappointed.
Adapted from Boston Cream Pie Minis by JELL-O, allrecipes.com
Servings: approximately 48 mini pies
Prep Time: 1 hour
Total Time: 1 hour 30 mins.
Ingredients:
- 1 package yellow cake mix
- 1 cup cold milk
- 1 pkg. (3.4 oz.) JELL-O Vanilla Instant Pudding
- 1 1/2 cups Cool Whip Topping, thawed
- 4 squares Baker’s semi-sweet chocolate
Directions:
- Preheat oven to 350˚F. Prepare cake batter as directed on package and bake in greased mini muffin tins. Cool in pan completely.
- Combine milk and pudding mix with whisk for 2 minutes or until well blended. Let stand 5 minutes. Gently add 1/2 cup of the whipped topping into pudding mixture; stir.
- Use a serrated knife to cut cupcakes horizontally in half. Generously spoon pudding mixture onto the bottom halves of cupcakes. Cover with top of cupcakes.
- Microwave (or use a double boiler) remaining chocolate in a medium size microwaveable bowl on high for 1 1/2 minutes or until chocolate is almost melted; stir until chocolate is completely melted. If chocolate is not fully melted, continue to heat in microwave for 30 second intervals, stirring after each time. Add remaining whipped topping. Stir to combine well.
- Use a spoon to spread the chocolate icing on top of the cupcakes. Icing does not need to completely cover the tops; cover approximately 75%.
- Refrigerate at least 15 minutes before serving. Note: leftovers should be stored in the refrigerator.


No comments:
Post a Comment